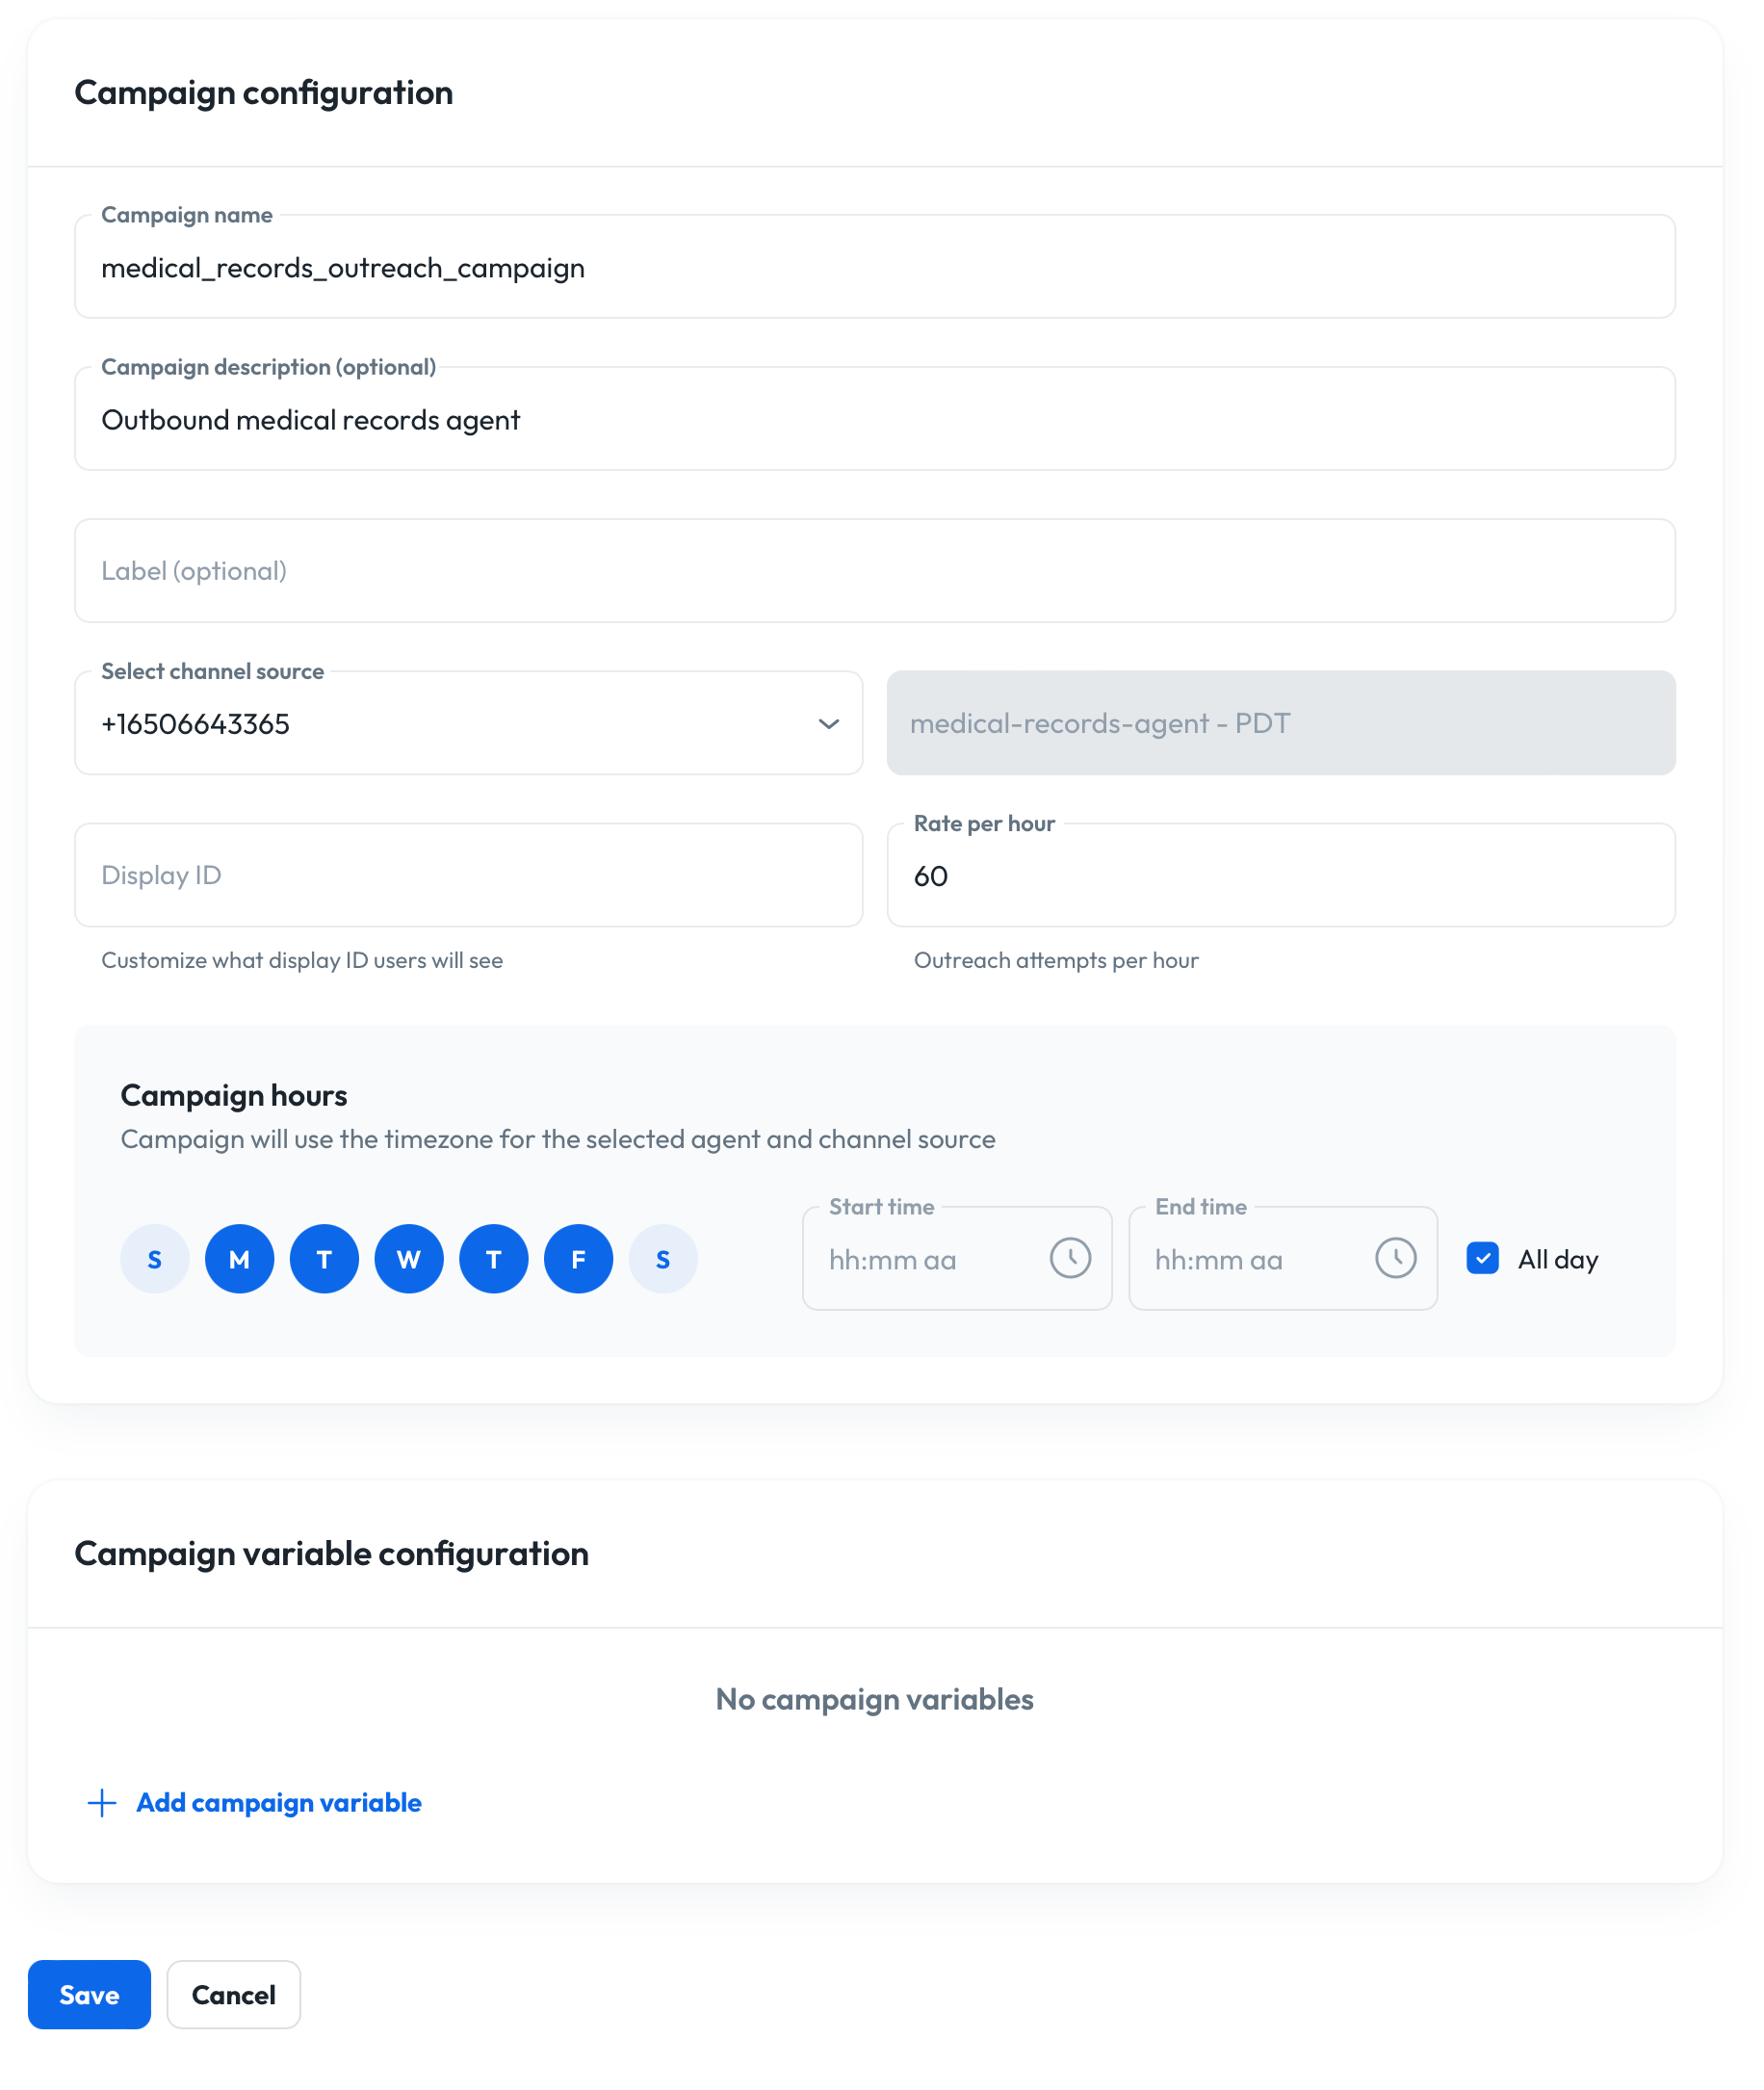
- Campaign name: Name it something like
medical_records_outreach_campaign - Campaign description: This description is displayed for extra context on the campaign list screen you just saw. For this agent you can enter “Outbound medical records agent” here.
- Label (optional): Labels are used for filtering messages on the message list screen. You can skip this field for the tutorial.
- Channel Source: Select the channel that you created earlier in the tutorial.
- Display ID (optional): Determines the caller ID shown to recipients during the call. This is useful if you want calls to appear as coming from a specific number - such as a proprietary line or another agent’s number - so that recipients can call back to a designated contact point. Skip for now.
- Rate Per Hour: How many calls the agent will place. Defaults to 60. Leave it as default.
- Campaign Hours: You can configure the campaign schedule by selecting specific days and times when calls should be active (e.g., Monday to Friday, 9 AM to 5 PM). Select “All day” for testing of this tutorial.


