Tools
Insight tools execute actions to extract insights through written prompts and determine structured outputs for the insights.Creating a Tool
To get started, navigate to the “Tools” resource under “Insights”. Select “New Tool” and start configuring your insight tool.
- Name: The unique name that will be used to access the tool in a workflow.
- Version: To keep track of iterations for adjusting the tool. A workflow will not reanalyze the same session with the same version of a tool.
- Description: For additional information about the tool functionality.
- Provider: This is the provider for the LLM that the prompt, and therefore any agents using it, will converse with.
- Model and Version: This is the specific LLM model that the prompt will use.
- Seed (optional): This is an integer value that controls the reproducibility of the job.
- Temperature (optional): This is a decimal value between 0 and 2 that controls randomness, higher is more varied, lower is more focused.
- Prompt that the LLM uses to extract insights. Refer to the Prompt writing tips resource for general tips regarding prompt creation.
- Output name: The name of the output that will be displayed in the dashboard. This should correlate to the prompt to give context to the output when displayed.
- Data type: Determines the value of what the tool will output.
- Boolean: True/False
- String: Text
- Integer: Numbers
- Array: A list of any of the above
- Return values: String, integer, and array data types will have a return values option. These force the tool to only choose an output from the comma-separated values entered here.
Workflows
Creating a Workflow
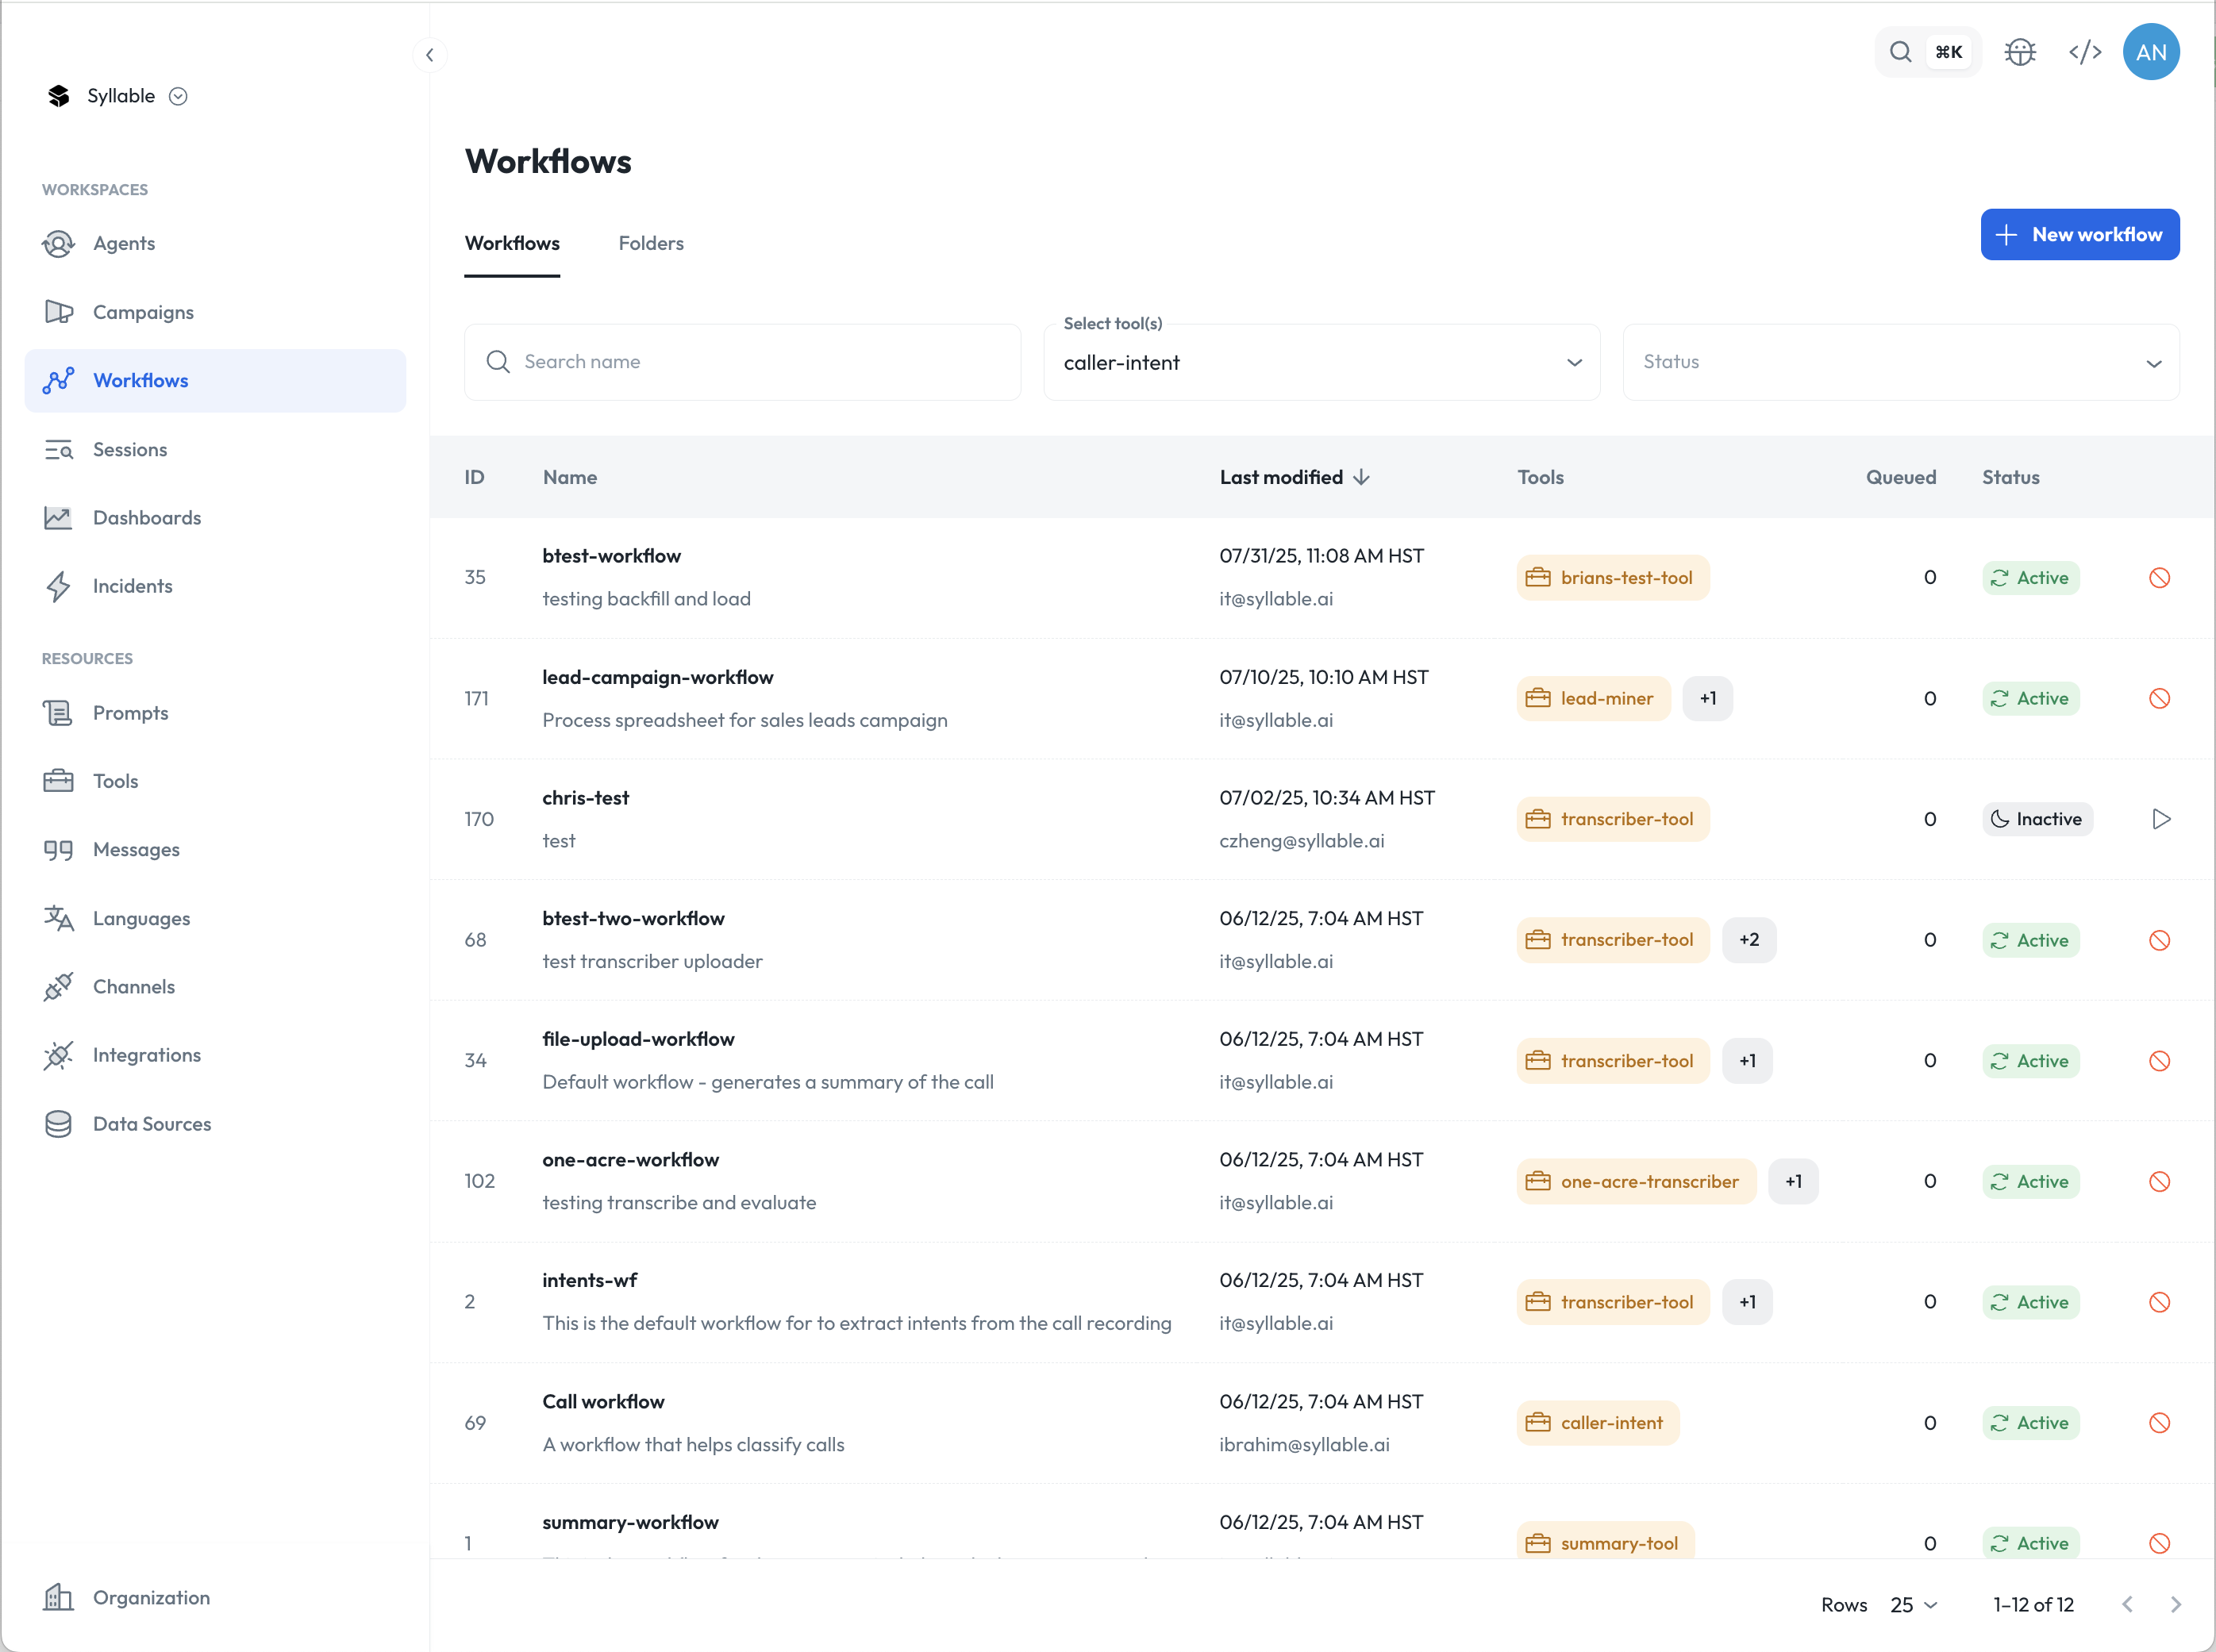
To create a workflow, select “Workflows” and then “New workflow” in the top right corner. Details:- Name: The name of your workflow
- Description: Required for providing an overview of your workflow
- Type: This provides a selection between Agent, Transfer, and Folder. Agent will only focus on the AI Agent portion of a call. Transfer will analyze both the AI Agent and the post-transfer legs of the call. Folder will point to the folder containing a set of uploaded call recordings.
- Sample rate: Set the workflow to target a percentage of sessions
- Session duration: Set the workflow to target sessions with specific durations (seconds)
- Agents (Agent and Transfer type): Select which agents the workflow will sample
- Prompts (Agent and Transfer type): Select which prompts the workflow will sample
- Folders (Folder type): Select which folders the workflow will sample
- Start time (Agent and Transfer type): This is for setting the start time of the workflow. Leaving blank will set the workflow to start immediately. Setting a time will create backfill, meaning that there will be a backlog of previous sessions that will queue for the workflow to target
- End time (Agent and Transfer type): This is for setting the start time of the workflow. Leaving blank will set the workflow to Live, meaning that it will continuously run until manually deactivated.
- Add tool: This is for linking insight tools to the workflow. Tools will run sequentially from the order in which they are added to the workflow.