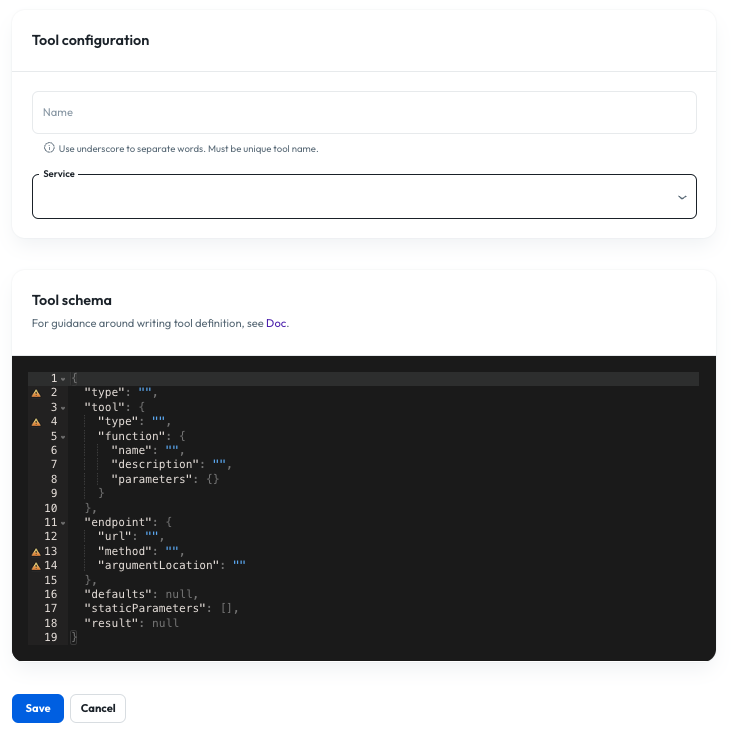
Creating and Using the tools

A tool is a function that an agent can use to carry out actions like calling external APIs or looking up information in a data source, as part of following the instructions defined in the prompt. We’ll use two tools: a built in tool to give the agent access to our data source with general weather information, and one to give the weather agent the ability to query the Open-Meteo API for real-time weather data, which we’ll need to create.

Click “Tools” on the left sidebar. This will take you to a list of the existing tools for your org. You’ll notice that there are many existing already - this is because Syllable comes with a standard set of tools out of the box and we add more tools for your AI agent all of the time. To create a new one, click “New tool” in the top-right corner.

  • Name: The name of the tool is used to reference it elsewhere in Console, including in prompts and agents, so you should pick something that’s easily identifiable. It shouldn’t contain any whitespace. Enter “get_weather” here.
  • Service: A service is a grouping of tools. You can select any available service here to add your new tool to that service. Select Default for now.
  • Tool schema: A JSON object defining the behavior and capabilities of the tool. For this tool, you can paste the following:
{
  "type": "endpoint",
  "tool": {
    "type": "function",
    "function": {
      "name": "get_weather",
      "description": "Get the weather for a city",
      "parameters": {
        "type": "object",
        "properties": {
          "longitude": {
            "type": "number",
            "description": "The longitude of the city"
          },
          "latitude": {
            "type": "number",
            "description": "The latitude of the city"
          },
          "start_date": {
            "type": "string",
            "description": "The starting date that users want the weather for in the format of YYYY-MM-DD (e.g., 2025-05-05)"
          },
          "end_date": {
            "type": "string",
            "description": "The ending date that users want the weather for in the format of YYYY-MM-DD (e.g., 2025-05-05)"
          },
          "timezone": {
            "type": "string",
            "description": "The user's current timezone (e.g., PST)"
          }
        },
        "required": [
          "longitude",
          "latitude",
          "start_date",
          "end_date",
          "timezone"
        ]
      }
    }
  },
  "endpoint": {
    "url": "https://api.open-meteo.com/v1/forecast",
    "method": "get",
    "argumentLocation": "query"
  },
  "defaults": null,
  "staticParameters": [
    {
      "name": "hourly",
      "description": "Information to retrieve from the Open-Meteo API, comma-separated",
      "required": true,
      "type": "string",
      "default": "temperature_2m,relative_humidity_2m,precipitation,rain,showers,snowfall,precipitation_probability,cloud_cover,wind_speed_10m,wind_direction_10m,visibility,uv_index"
    },
    {
      "name": "temperature_unit",
      "description": "Unit of temperature being used",
      "required": false,
      "type": "string",
      "default": "fahrenheit"
    },
    {
      "name": "wind_speed_unit",
      "description": "Unit of wind speed being used",
      "required": false,
      "type": "string",
      "default": "mph"
    },
    {
      "name": "precipitation_unit",
      "description": "Unit of precipitation being used",
      "required": false,
      "type": "string",
      "default": "inch"
    }
  ],
  "result": null
}

Click Save on this tool.

Updating prompt to access tools

Now that we have our two tools, we can make them available to the prompt that we created earlier, so that any agents using that prompt will have access to the tools. We can do this on the prompt edit screen.

Navigate back to the Prompts screen, select your prompt and click Edit.

Weather AI Agent Prompt Tools Pn

In the “Tools” dropdown, search for and add your new data_source_search, get_weather and get_current_datetime tool as shown above.

  • data_source_search - This is a built in tool that allows you to search a Data Source.
  • get_current_datetime - This is a built in tool that gives the agent the ability to look up the time.
  • get_weather - This is the tool that you made in the Create tools section of this tutorial

You also need to update the text of the prompt itself so that it informs the LLM when and how to use the new tools. Update it to match the following:

You are a weather agent that can tell the user information about weather in a given city and also answer general weather-related questions. 

You maintain a helpful, friendly, engaging tone while remaining professional and relatively concise. Respond naturally and conversationally, avoiding non‑verbal cues, system descriptions, or extraneous information.

When asked for help or what information you can provide, you MUST respond with "I can answer general weather-related questions or I can provide temperature, relative humidity, total precipitation amounts, the probability of precipitation, cloud cover, wind speed, wind direction, visibility, and UV index for a given location. What would you like to know?"

When asked about information for a city, use the "get_weather" tool with the city information (longitude and latitude). Use the 'get_current_datetime' tool to if the user doesn't clearly provide a timeframe. You will reply with the current temperature and relative humidity level based on the response. Give numerical data rounded to the nearest whole number. Visibility should be provided in miles (no more than 2 decimals). Using the information on the response, also tell the caller the weather conditions in one simple sentence, like "sunny," or "rainy." If you can't determine the city coordinates with the information given, ask for more information.

When asked a general weather-related question, acknowledge what the user is asking for and use the "data_source_search" tool with the question that the user asked you.

When asked about any other topic, don't answer and instead remind the caller that you are a weather agent.

Now click Save to save the prompt.

We have one more step before we’re able to create the agent, and that’s to add a greeting message for the agent to deliver to the user at the beginning of a conversation. Click “Create a message” below to continue the tutorial.

(Full tools docs)